


Deploying an app on AWS ECS with CDK
Wed, Feb 15, 2023
In this article, I am trying to demonstrate the steps to get an application running on AWS ECS with load-balancing and auto-scaling enabled using CDK. We will be writing the CDK code using TypeScript
I am choosing NextJS to build this application, mainly because NextJS is a full-stack framework and it makes sense to enable auto-scaling on such an application. but this could be any app/API. which has an endpoint that returns some HTML.
Root folder Structure
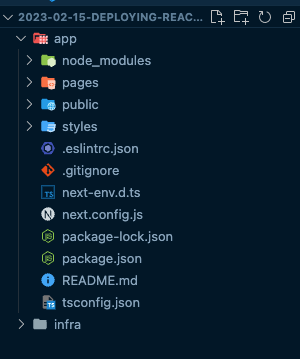
Let's first define the basic folder structure of this project, We will have the folder app
which will contain our application code and the infra folder will contain the infrastructure definition
that we are going to write using CDK.
Creating the application
As I previously mentioned, I am going to use NextJS to write my application And I will not do any changes to the NextJS boilerplate code as it is not important what the application does at this moment.
Let's first initialize a new NextJS app inside the app directory by running the below command inside the app directory.
cd app && npx create-next-app@latest --typescript .
Which will result in a folder structure like this:
Containerize the application
Now we have our application, we have to dockerize it in order to deploy it using CDK.
We can dockerize a NextJS application by creating a Dockerfile inside the app folder
This is a simple Dockerfile that we can use to dockerize our application, but you can change it based on your requirements.
FROM node:18-alpine
EXPOSE 3000

RUN mkdir /app
WORKDIR /app

COPY . /app

RUN yarn install
ENV NODE_ENV=production

RUN yarn build
CMD ["yarn", "start"]
Now we are ready from the app side.
Initializing the CDK application
To initialize the CDK application, we have to run the below command inside the infra
directory. This will generate the code necessary to get started with defining
the infrastructure of the project.
cdk init app --language typescript .
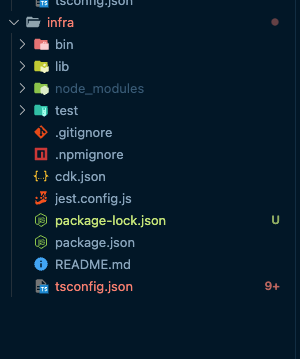
The new folder structure inside infra folder will look like this
Now, let's change the content of the bin/infra.ts file to the code below,
This is the entry point of the CDK application. We are initializing the InfraStack which
we import from lib folder.
#!/usr/bin/env node
import "source-map-support/register"
import * as cdk from "aws-cdk-lib"
import { InfraStack } from "../lib/infra-stack"

const app = new cdk.App()
new InfraStack(app, "InfraStack")
Defining the infrastructure
Now we are ready to define the infrastructure of the project. To make it easier, I will only have one file
which is lib/infra-stack.ts and I will define all the resources in this file. But it is a good practice to
break the infrastructure into multiple files and import them in the infra-stack.ts file.
As the initial step, let's change lib/infra-stack.ts file,
import { Stack, StackProps } from "aws-cdk-lib"
import { Construct } from "constructs"

export class InfraStack extends Stack {
  constructor(scope: Construct, id: string, props?: StackProps) {
    super(scope, id, {
      env: {
        account: process.env.AWS_ACCOUNT_ID,
        region: process.env.AWS_DEFAULT_REGION
      }
    })
  }
}
Here we are initializing the stack and setting the account and region from the environment variables.
Having the account and region is required to deploy the stack.
Defining the VPC
Let's start by creating a VPC for our application. All other resources will be created inside this VPC.
const vpc = new Vpc(this, "AppVPC", {
  natGateways: 0
})
Defining the ECS cluster
Now we have to define an ECS cluster that contains all resources related to our ECS.
const cluster = new Cluster(this, "Cluster", { vpc })
Defining app task
Before defining the task, we have to define a role for the task.
This role has to be based on the ecs-tasks.amazonaws.com role.
const taskRole = new Role(this, "AppRole", {
  assumedBy: new ServicePrincipal("ecs-tasks.amazonaws.com")
})
Now we have to add required permissions to the role,
These permissions could change based on the requirements of the project.
For this project, we are going to add permissions for log and CloudWatch.
taskRole.addToPolicy(
  new PolicyStatement({
    resources: ["*"],
    actions: ["logs:*", "cloudwatch:*"]
  })
)
Now we are ready to define the task. The task is the basic unit that runs on the actual container. As we are targeting EC2, we have to define the compatibility as EC2. And obtainExecutionRole will create the execution role for this task if it does not exist.
const taskDefinition = new TaskDefinition(this, "AppTask", {
  taskRole,
  compatibility: Compatibility.EC2
})
taskDefinition.obtainExecutionRole()
Defining the auto-scaling group
Now we have to define an auto-scaling group that will handle the
creation and destruction of the EC2 instances. based on the
requirements of the capacity provider which will be defined later.
Here I am using a t3.nano instance type, this can be changed based on the requirements. And I am setting the desiredCapacity to 0 so that no instances will be created at the beginning.
const asg = new AutoScalingGroup(this, "ASG", {
  instanceType: new InstanceType("t3.nano"),
  machineImage: EcsOptimizedImage.amazonLinux2(),
  associatePublicIpAddress: true,
  maxCapacity: 3,
  desiredCapacity: 0,
  minCapacity: 0,
  vpc: vpc,
  vpcSubnets: { subnetType: SubnetType.PUBLIC },
  newInstancesProtectedFromScaleIn: false
})
Defining the capacity provider
We are going to use the capacity provider to connect the auto-scaling group and the ECS cluster. This will handle all the scaling scenarios. I am setting the enableManagedScaling to true so that the capacity provider will handle the scaling of the instances. And I am setting the targetCapacityPercent to 100 so that the capacity provider will always try to keep the instances at 100% capacity and will not create additional instances. It's also important to note, by setting the enableManagedTerminationProtection to false we are allowing the capacity provider to terminate the instances if it is required.
const capacityProvider = new AsgCapacityProvider(this, "EC2CapacityProvider", {
  autoScalingGroup: asg,
  enableManagedScaling: true,
  enableManagedTerminationProtection: false,
  targetCapacityPercent: 100
})

cluster.addAsgCapacityProvider(capacityProvider)
Defining the app service
Now we are ready to define the service which will contain the task. I am setting the minHealthyPercent to 0 so that the service will not wait for the instances to be healthy before starting the deployment. And I am setting the capacityProviderStrategies to use the capacity provider which we defined earlier.
const service = new Ec2Service(this, "AppService", {
  taskDefinition,
  cluster,
  desiredCount: 1,
  minHealthyPercent: 0,
  capacityProviderStrategies: [
    {
      capacityProvider: capacityProvider.capacityProviderName,
      weight: 1,
      base: 0
    }
  ]
})
Defining the container
Now we are ready to define the container where the task will be running, Here I am
using ContainerImage.fromAsset to build the image from the local directory. CDK will
build the image locally and push it to ECR. I am also using awsLogs driver to push the logs to CloudWatch. And I am setting the memoryReservationMiB to 200 so that the container will have a minimum of 200MB of memory. This amount can be changed based on the
requirements of the application. This value will be taken into consideration when scaling the app. And I am also mapping port 3000 of the container to port 3000 of the host. As NextJS is by default running on port 3000.
const container = taskDefinition.addContainer("AppContainer", {
  linuxParameters: new LinuxParameters(this, "AppLinuxParams"),
  image: ContainerImage.fromAsset("../app"),
  logging: LogDriver.awsLogs({
    streamPrefix: "app",
    logRetention: RetentionDays.ONE_WEEK
  }),
  environment: {
    NODE_ENV: "production"
  },
  memoryReservationMiB: 200
})

container.addPortMappings({
  containerPort: 3000,
  hostPort: 3000,
  protocol: ECSProtocol.TCP
})
HTTP certificate
Now we have to have a certificate for the domain which we are going to use. This certificate will be used by the load balancer to serve the traffic over HTTPS. Make sure you create this certificate in the us-east-1 region. This is a requirement for the load balancer.
As we are not in the us-east-1 region, we have to import the certificate using the Certificate.fromCertificateArn method. You can copy the ARN of the certificate from the AWS console. I am setting the APP_CERTIFICATE_ARN environment variable to the ARN of the certificate.
const domainCertificate = Certificate.fromCertificateArn(this, "AppCertificate", process.env.APP_CERTIFICATE_ARN!)
Defining the load balancer
Now we are ready to define the load balancer,
const loadBalancer = new ApplicationLoadBalancer(this, "AppLoadBalancer", {
  vpc,
  internetFacing: true,
  vpcSubnets: { subnetType: SubnetType.PUBLIC }
})
Redirecting HTTP to HTTPS
We will redirect the HTTP traffic to HTTPS. This is done by adding a redirect rule to the load balancer. This will redirect all the traffic coming from port 80 to port 443 over HTTPS.
loadBalancer.addRedirect({
  sourcePort: 80,
  sourceProtocol: ApplicationProtocol.HTTP,
  targetPort: 443,
  targetProtocol: ApplicationProtocol.HTTPS
})
Allow egress traffic
We have to allow the load balancer to make requests to the internet. This is done by adding a security group rule to the load balancer.
loadBalancer.connections.allowToAnyIpv4(Port.allTcp(), "All Out")
Connecting the load balancer to the app
Now we are ready to connect the load balancer to the app. First, we will create a listener on port 443 and add the certificate which we created earlier. Then we can add the app service as a target to the listener.
Ans we also have to make sure the load balancer can be accessed from the internet. This can be done
using allowFromAnyIpv4 method for ports 80 and 443.
Finally, we will allow the load balancer to make requests to the app on port 3000.
const listener = loadBalancer.addListener("AutomateListener", {
  port: 443,
  certificates: [domainCertificate],
  protocol: ApplicationProtocol.HTTPS
})

listener.addTargets("AppTarget", {
  healthCheck: {
    enabled: true,
    protocol: Protocol.HTTP
  },
  port: 3000,
  deregistrationDelay: Duration.seconds(3) as any,
  protocol: ApplicationProtocol.HTTP,
  targets: [service]
})

loadBalancer.connections.allowFromAnyIpv4(Port.tcp(80), "Ingress HTTP internet")
loadBalancer.connections.allowFromAnyIpv4(Port.tcp(443), "Ingress HTTPS internet")

for (const subnet of vpc.publicSubnets as any) {
  asg.connections.allowFrom(Peer.ipv4(subnet.ipv4CidrBlock), Port.tcp(3000), "Ingress from ALB to App")
}
Hosted zone and subdomain
As my domain is handled by AWS, I will add the subdomain to the hosted zone also here, If this is not the case for you, you can skip this step and directly point the domain to the load balancer's public IP which you can find after the deployment is done in the AWS console.
const hostedZone = PublicHostedZone.fromLookup(this, "HostedZone", {
  domainName: "<some-domain>.com"
})

new ARecord(this, "AppARecord", {
  zone: hostedZone,
  target: RecordTarget.fromAlias(new LoadBalancerTarget(loadBalancer as any)),
  recordName: "app"
})
Deploying the app,
Now our infrastructure definition is ready to go.
Before deploying, we have to bootstrap the application, Before that, we have to make sure we have
the AWS credentials are set in the environment variables. And also make sure the AWS_ACCOUNT_ID
and APP_CERTIFICATE_ARN environment variables are set.
# For bash:
export AWS_ACCOUNT_ID="<AWS_ACCOUNT_ID>"
export AWS_ACCESS_KEY_ID="<AWS_ACCESS_KEY_ID>"
export AWS_SECRET_ACCESS_KEY="<AWS_SECRET_ACCESS_KEY>"
export AWS_DEFAULT_REGION="<REGION>"
export APP_CERTIFICATE_ARN="arn:aws:acm:..."
Now we can run the below command inside the infra folder to bootstrap the app,
npx aws-cdk bootstrap

And finally, we can deploy the app using the below command, This will take some time because it has to build the app image and push that to the ECR registry. I am doing this completely from the local machine but the steps are the same if you are using a CI/CD pipeline.
Also, make sure Docker is running on your machine as the CDK will use the local Docker daemon to build the image.
npx aws-cdk deploy
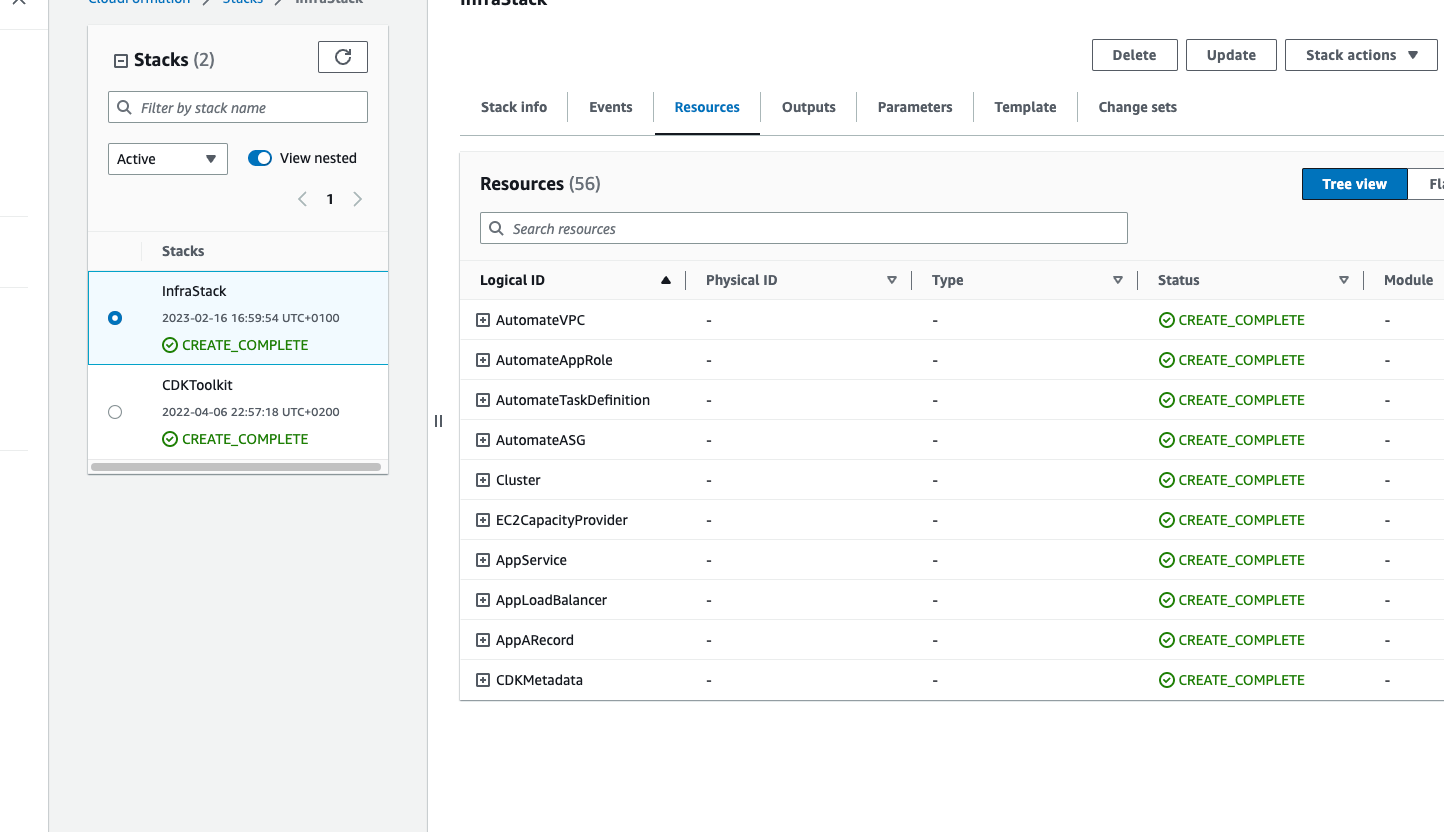
Once the deployment is complete, It should return an output like below,
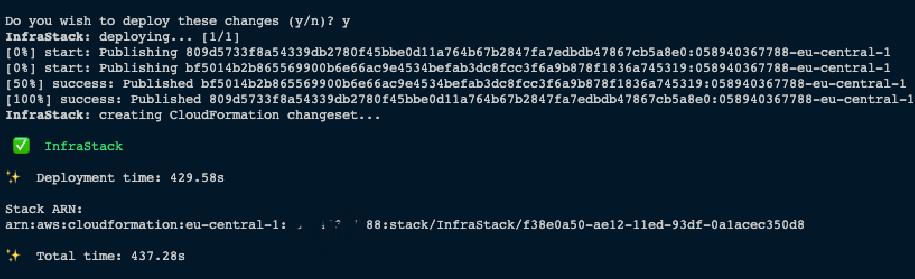
Now you should see the stack is created in the Cloudfomration console.
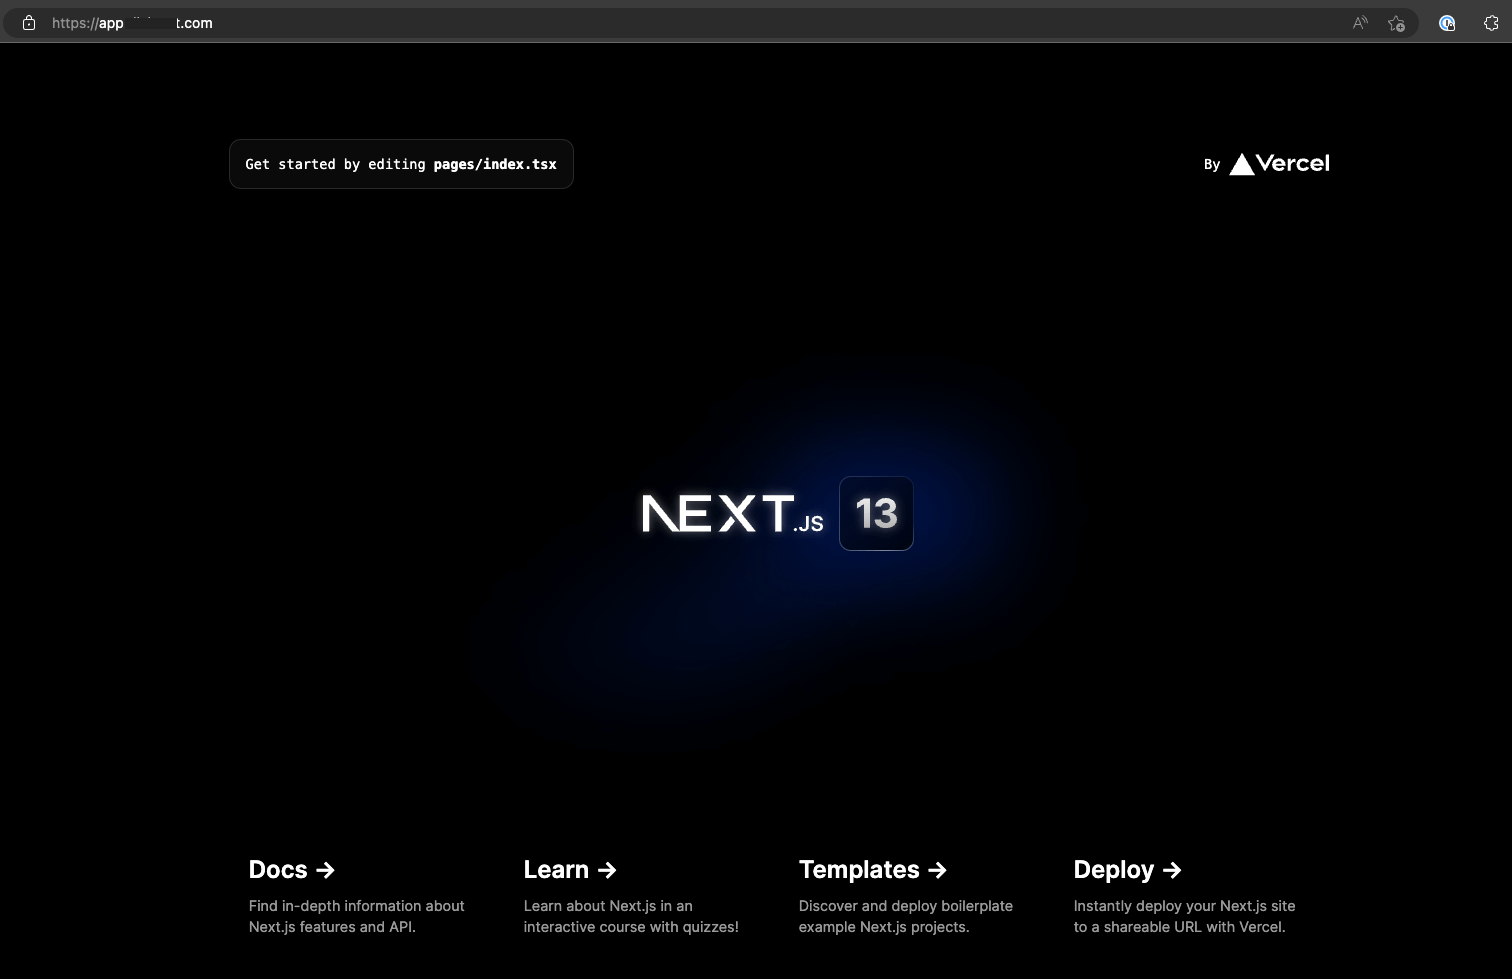
Testing the app
Now we can test the app by visiting the domain which you used.
Now, If you increase the number of desired tasks for the service, The auto-scaling group will automatically facilitate the scaling by creating new instances.
Troubleshooting
If you get the error The runtime parameter of python3.6 is no longer supported for creating or updating AWS Lambda functions. We recommend you use the new runtime (python3.9),
Remove the aws-cdk package from the package.json file set the version for the package aws-cdk-lib to ^2.61.1, install packages and run deploy again.
Source code
You can find the source code for this blog post here


