Deploying a Website on S3 With SSL, Continuous Integration
Mon, Aug 5, 2019
S3 supports static site hosting, In this post, I am going to show you how you can set up a website on S3 and configure a deployment workflow using Gitlab.
What we can expect from the site that we gonna create?
- It should be fast
- Should have a proper SSL certificate
- Should be able to update the site right from GIT
What we are Going to use
Let's see what tools we are going to use to make this happen, Most of these tools are either free or very cost-effective for a simple website. So you can give this a try without any worries. Anyway, it's better to check the pricing and get an understanding before proceeding.
We are going to spend most of the time in AWS. so if you have not used AWS before, create an account if you want to follow alone.
A domain name service
I am going to use Godaddy. but you can use any service for this. We use this only to buy the domain. after adding the name server records, we won't touch this much.
Amazon Route 53
We are going to use Amazon Route 53 as the name server for our domain.
Amazon Certificate Manager
We will need the Certificate Manager to get an SSL certificate for our website
Amazon Cloudfront
We have to use a Cloudfront distribution for our website.
Amazon S3
We are going to use S3 to put the files of the website (the site itself)
Gitlab
We will use Gitlab to host our code and create the CI pipeline. create a new account if you haven't used it before if you want to follow along. its free.
Getting a Domain Name Ready
If you have a domain name already, skip this step. You can use any domain name service as you like such as NameCheap, BlueHost.
I already have a domain that can be used in this which is prettyuseless.website.
The name is awful but let's continue with it.
So I have my domain name with me, make sure you have your one ready at this point if you follow along.
Creating the S3 Bucket
Okay, we need a place to put the files of our website (such as index.html). we are going to use Amazon S3 for this.
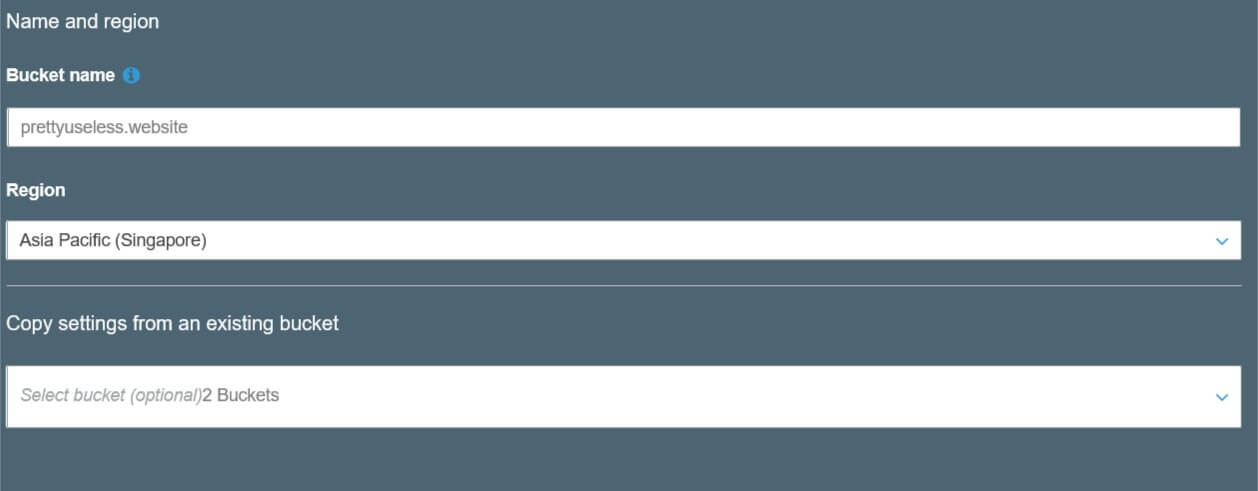
First, we have to create a bucket for our website. Make sure to set the domain name as the name of the new bucket.
Go to S3 home page, and start creating the bucket. put your domain name as the name and choose your preferred region. (I am choosing Singapore) and go head
After creating the bucket, It should immediately show up in the S3 home page.
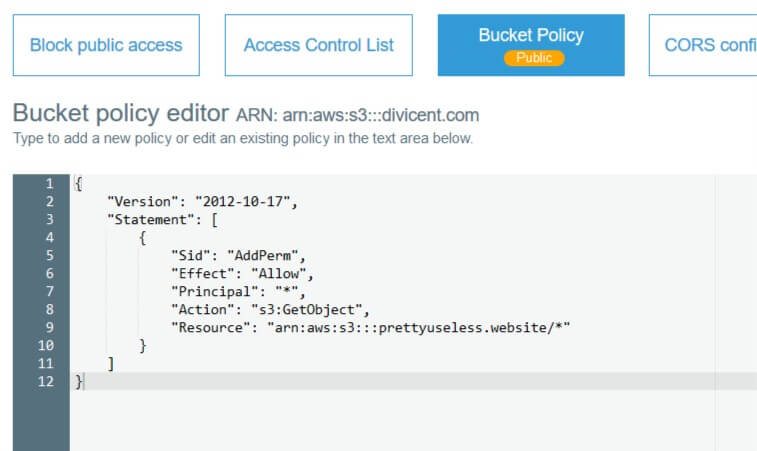
Click the bucket you just created and go to permissions tab. Click the "Bucket Policy" button and paste the configuration below
{
  "Version": "2012-10-17",
  "Statement": [
    {
      "Sid": "AddPerm",
      "Effect": "Allow",
      "Principal": "*",
      "Action": "s3:GetObject",
      "Resource": "arn:aws:s3:::yourbucketname/*"
    }
  ]
}
And don't forget to replace yourbucketname with the name of the bucket you created which has the same name as your domain name.
And don't forget to save the change.
Now we have to turn on Static Website Hosting in our bucket
Go to the properties tab and click Static Website Hosting section. Select "Use this bucket to host a website" option and put
index.html as the "Index Document". you can also put a file name for the "Error Document" and save.
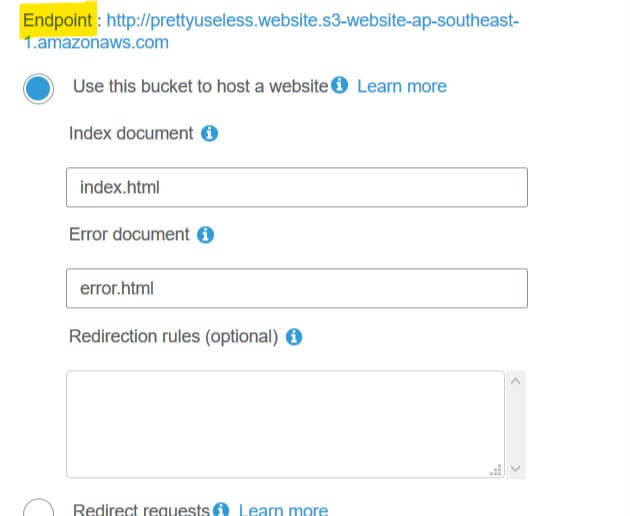
Okay, as you can see now we have an address (Endpoint) that can be used to access our hosted website.
Give it a try and it should return a not found response. that is because we don't have an index.html file on our website.
So let's add that so we can easily test our website.
Create two files (index.html, error.html) and upload it to the root of the bucket.
I am going to upload files with the content below.
<html>
  <body>
    <h1 style="text-align: center; margin-top: 100px;">
      We are under construction. please try again later.
    </h1>
  </body>
</html>
<html>
  <body>
    <h1 style="text-align: center; margin-top: 100px;">
      The page you are trying to access it not available right now
    </h1>
  </body>
</html>
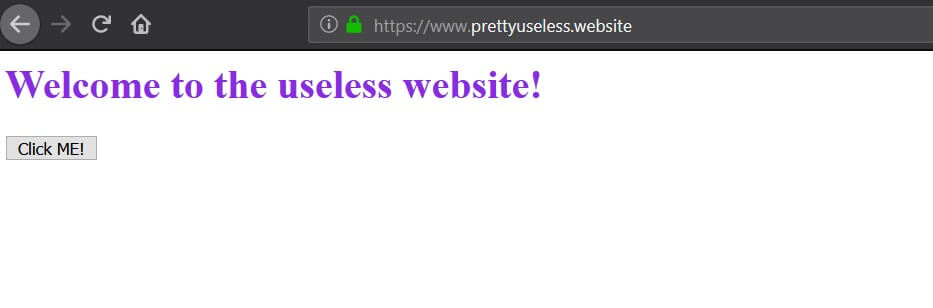
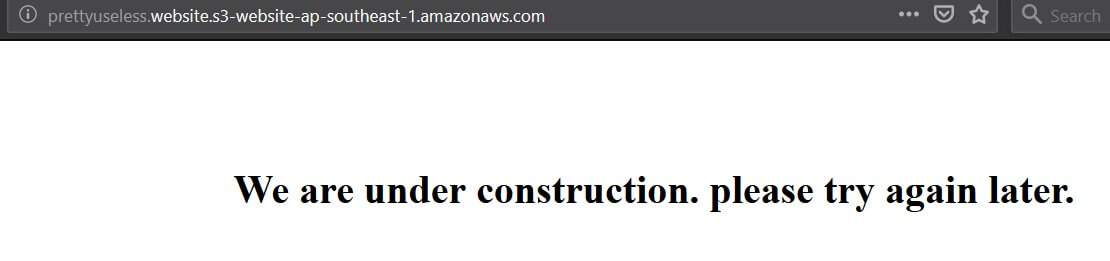
Now if you try the website now, it should return the HTML you have just added. like below. and if you try to access any other file It should return the error page.
SSL
We need SSL for our website. we can use the AWS Certificate Manager to get a free certificate. we will need this when we are creating the Cloudfront distribution.
Go to the Certificate Manager and create a new Provision Certificate. Make sure you have selected the "US East (N. Virginia)" region before requesting the certificate.
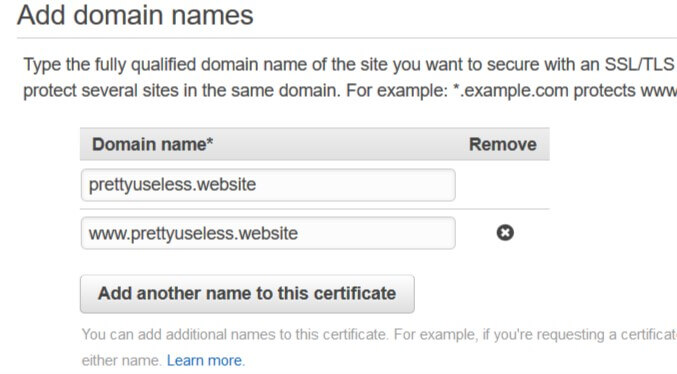
It will ask you for the domain names to cover with the certificate when you are going ahead. make sure you add your domain name and the domain name with www prefix
And go ahead and select DNS validation as the validation method. and request the certificate
While you are in the validation step, you can complete it easily by clicking "Create record in Route 53" for each domain name. this will automatically add the required CNAME records to your Route 53 hosted zone.
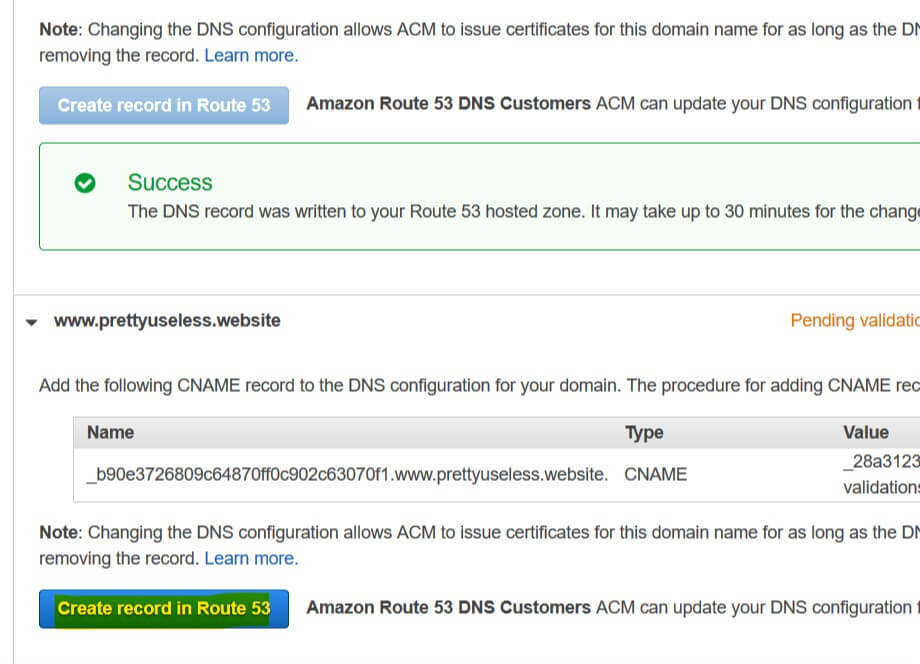
And complete the request.
It will take some time for Amazon to issue the certificate (about 10 minutes).
CDN With Cloudfront
Okay, now our bucket is ready, let's create the Cloudfront distribution for our site.
Go to the Cloudfront home page and start creating a new Web distribution.
Copy the URL for our bucket from S3 and paste it without the http:// part into the "Origin Domain Name" input.

Mark the "Redirect HTTP to HTTPS" option
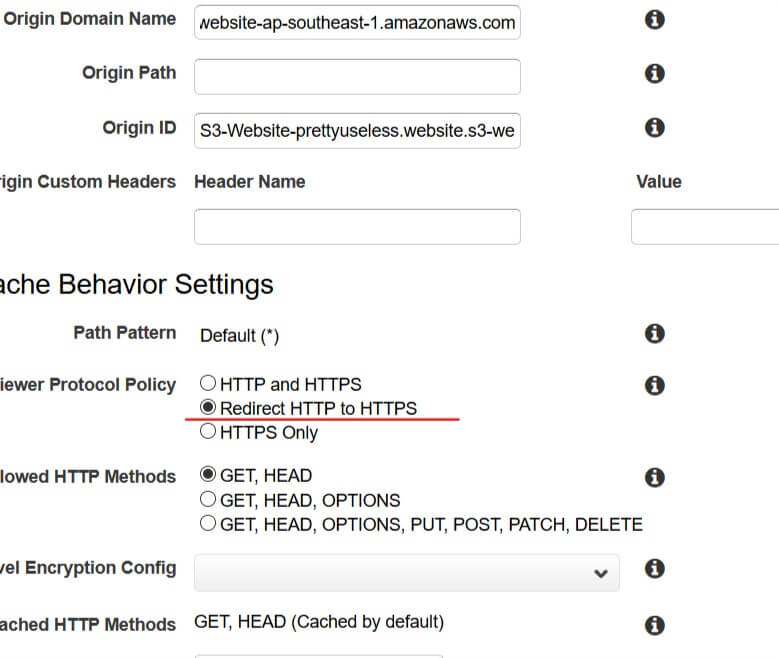
Change "Compress Objects Automatically" to Yes
Put the domain name with and without www prefix in two lines in the "Alternate Domain Names" input.
Select the certificate you created in Certificate Manager as the custom SSL certificate

And save changes and wait for it to finish. It will take about 20-30 minutes to deploy the distribution
After the deployment is done, you can check if the website is working by accessing the domain name provided by the distribution.
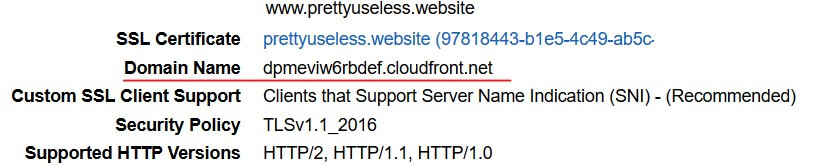
Also make sure that the SSL is working in that domain.
Setting up the Name Server
We have our domain ready but it is not working as we have not configured it. So now we are going to configure the name server for the domain name. We can use Route 53 to do this.
Go to the Route 53 Hosted Zones page and create a new hosted zone.
- Enter the domain name, and keep the type as
Public Hosted ZoneLike below.
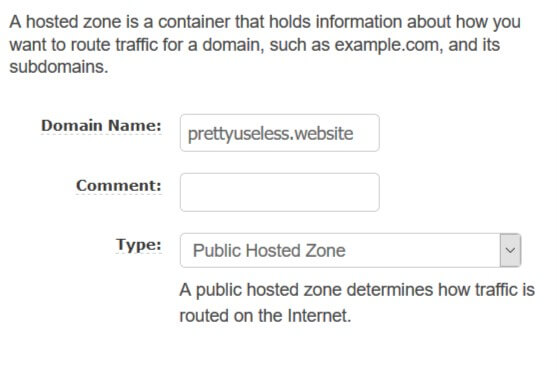
And press Create to create the hosted zone.
Now you will be redirected to the properties page of the newly created hosted zone.
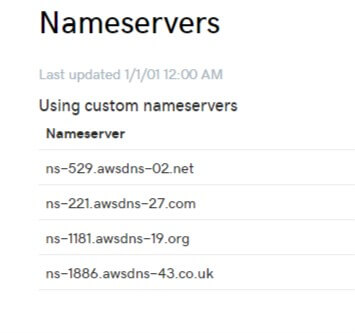
Here you can see they have added some records already. Now we have to let the domain know what is our name server is. To do that we have to add name server records to our domain name.
To do this we just have to Copy the value of the only NS record in the hosted zone and add them as name server records in our domain.
Select the name server RecordSet and copy the values (each row represent one NS record)
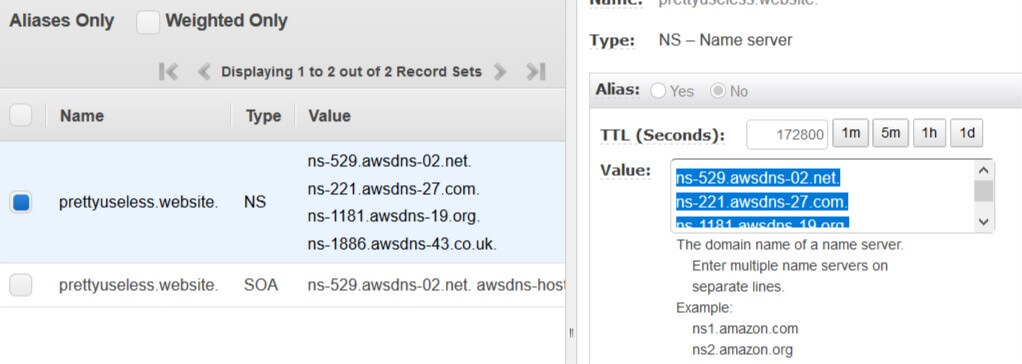
Go to your domain name provider website's management screen and add the name server records you just copied one by one. Remove the dot at the end of each record if it gives you an error.
It will take some time to switch the name servers depending on your domain name provider. You can check if the name server records are applied using a tool like NS lookup
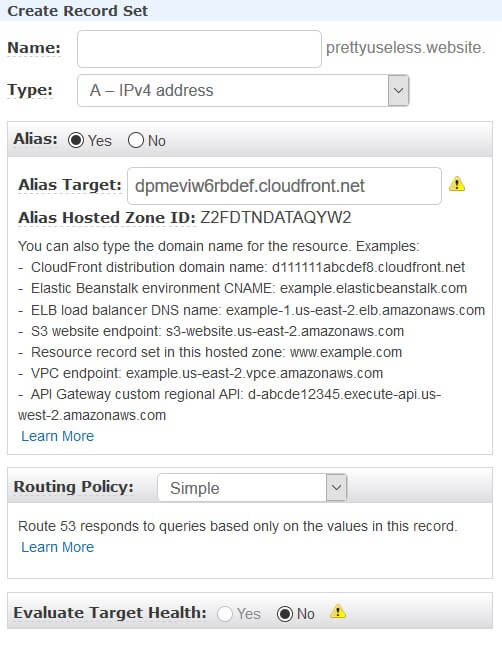
Now we just have to point our domain name to the Cloudfront distribution that we just created. To do this, we can create an A record that will point to the distribution.
Go to the hosted zone you created and create a new RecordSet. keep the name empty, Type should be A, Check the Alias option and select the CloudFront distribution you created.
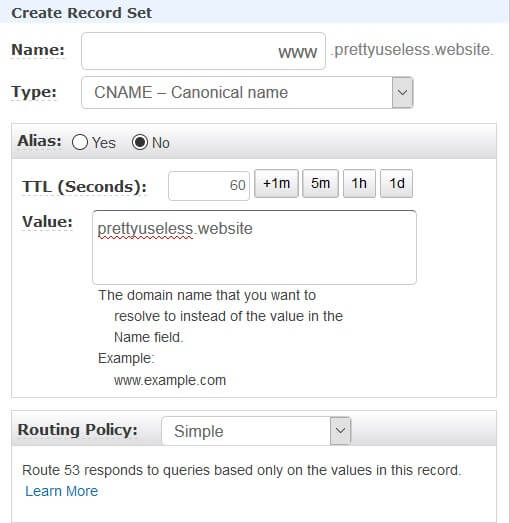
Also add a new CNAME Record Set to redirect the www subdomain to the root domain So we don't have to configure another bucket for that
This will take some time to get registered.
Okay, now we are mostly done with our AWS setup, now we can go ahead and start setting up our deployment workflow. I will keep this website simple with only 4 files,
- error.html
- index.html
- index.css
- index.js
Pretty basic setup. And I am going to use Parcel to bundle the files.
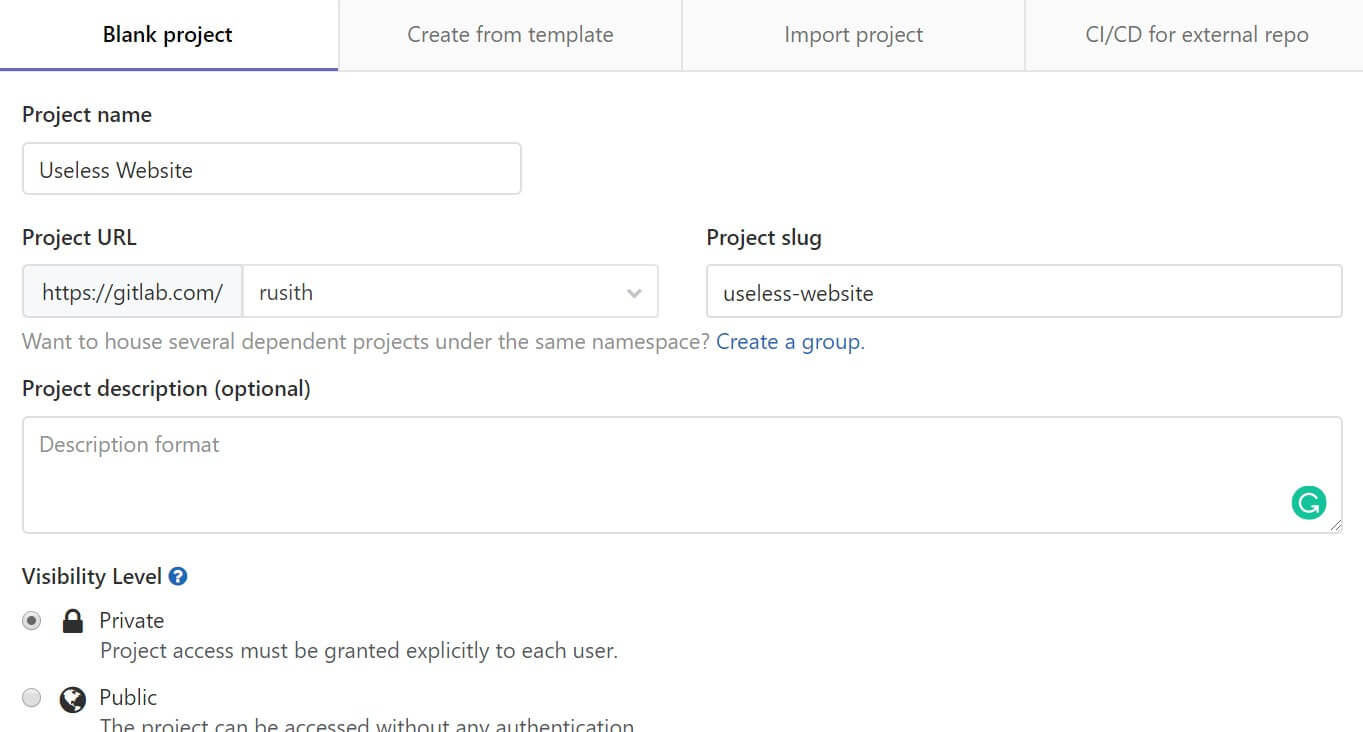
The first thing we have to do is to create a new repository in Gitlab.
Go ahead and create a new repository
In order to access our bucket from Gitlab CI, we will need permissions. for this, we can create a new user for Gitlab CI and assign policies that will allow accessing the bucket we created.
Go to the AWS IAM console and create a new policy with the below JSON. Don't forget to replace the bucket name (prettyuseless.website) with yours
{
  "Version": "2012-10-17",
  "Statement": [
    {
      "Sid": "VisualEditor0",
      "Effect": "Allow",
      "Action": [
        "s3:PutObject",
        "s3:GetObjectAcl",
        "s3:GetObject",
        "s3:ListBucket",
        "s3:DeleteObject"
      ],
      "Resource": [
        "arn:aws:s3:::prettyuseless.website/*",
        "arn:aws:s3:::prettyuseless.website"
      ]
    },
    {
      "Sid": "VisualEditor1",
      "Effect": "Allow",
      "Action": [
        "s3:GetAccountPublicAccessBlock",
        "s3:ListAllMyBuckets",
        "s3:ListJobs",
        "s3:CreateJob",
        "s3:HeadBucket",
        "s3:ListObjects"
      ],
      "Resource": "*"
    }
  ]
}
Set an appropriate name. I am going to name the policy as useless-upload
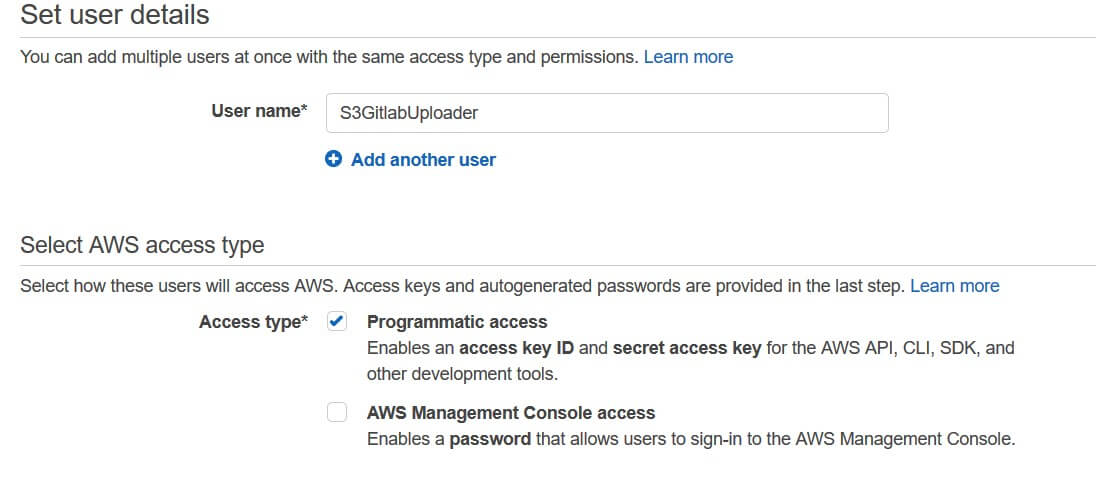
Create a new user. I am going to name it as "S3GitlabUploader". You can use whichever name you like. And make sure Programmatic access is enabled
Select "Attach existing policies directly" and select the policy you created above.
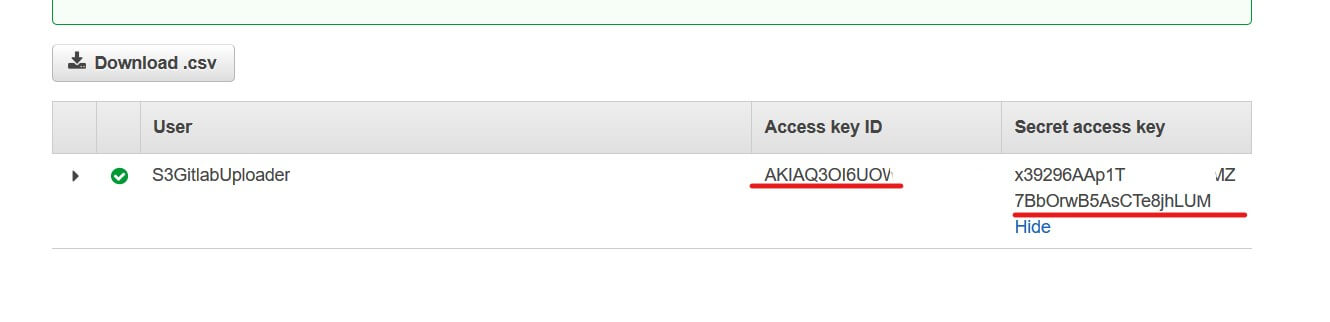
Remember to keep a copy of the Access key ID and Secret access key that will be prompted at the end of user creation
Now we have the credentials to use the bucket. we can now add these access keys to the repository so we can use those values in our CI pipeline.
Go to CI/CD Settings and create two variables for the access key and secret key. (put AWS_ACCESS_KEY_ID and AWS_SECRET_ACCESS_KEY) as the keys.
Okay, with that done, we are ready to configure our CI pipeline.
Below is the configuration we gonna use.
image: node:10
stages:
- build
- deploy
variables:
AWS_DEFAULT_REGION: ap-southeast-1
BUCKET_NAME: prettyuseless.website
cache:
paths:
- vendor
buildSite:
only:
- production
stage: build
script:
- npm install -g parcel-bundler --unsafe-perm=true --allow-root
- parcel build index.html
artifacts:
paths:
- dist/
deploys3:
only:
- production
image: "python:latest"
stage: deploy
dependencies:
- buildSite
before_script:
- pip install awscli
script:
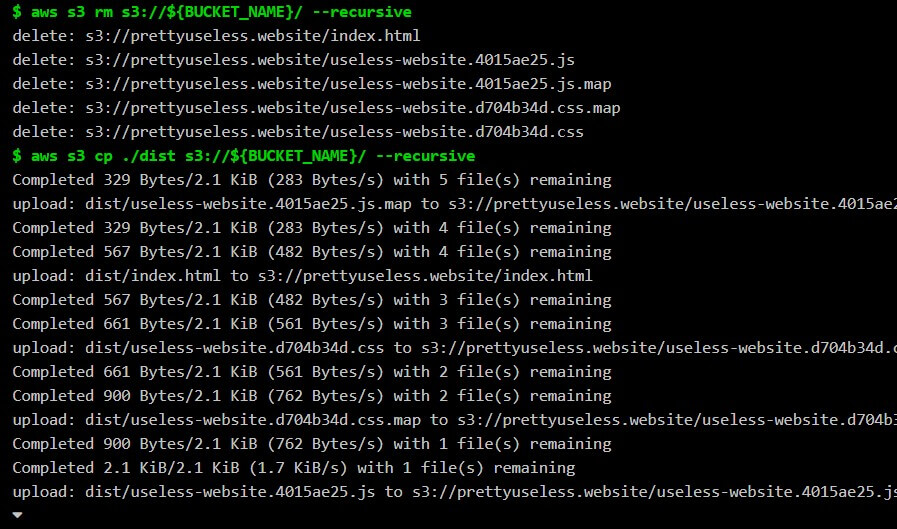
- aws s3 rm s3://${BUCKET_NAME}/ --recursive
- aws s3 cp ./dist s3://${BUCKET_NAME}/ --recursive
environment:
name: ${CI_COMMIT_REF_SLUG}
url: http://${BUCKET_NAME}.s3-website.${AWS_DEFAULT_REGION}.amazonaws.com/
Change the AWS_DEFAULT_REGION and BUCKET_NAME and save as a file named .gitlab-ci.yml in the root of your repository
This will instructs Gitlab to build and deploy the website whenever something is pushed to the production branch.
You can change this behavior if you want.
Okay, now our CI pipeline is ready. I now you can continue developing the website. you just have to push the latest code to the production branch,
It will deploy the code to S3.